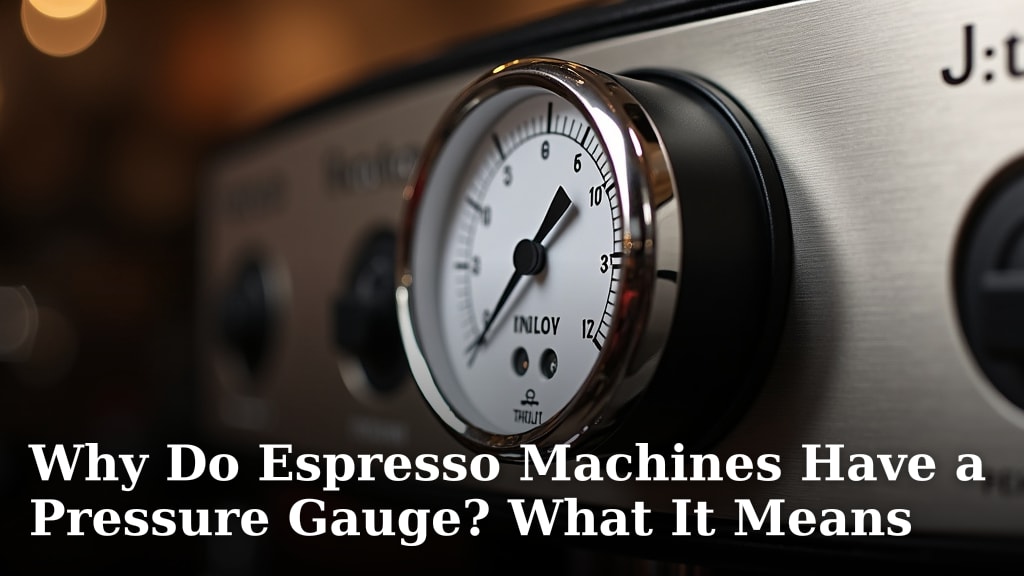
Why Do Espresso Machines Have a Pressure Gauge? What It Means
Your espresso machine’s pressure gauge is there to tell you if it’s brewing correctly. It shows the exact water pressure being applied to your coffee grounds. This is a key factor in espresso quality.
Many home baristas overlook this dial. But a properly functioning gauge helps you avoid common espresso mistakes. We found that understanding its readings can lead to a much better tasting shot. It’s your machine’s way of speaking to you about extraction.
- The gauge measures water pressure during brewing.
- This pressure directly impacts espresso flavor.
- An ideal range exists for perfect extraction.
- It helps diagnose brewing problems early.
- Regularly checking it ensures consistency.
Let’s walk through what those numbers mean and how you can use your pressure gauge to make amazing espresso at home.
Understanding Your Espresso Machine’s Pressure Gauge
Your espresso machine has a pressure gauge for a very important reason. It’s your direct line of communication about how your coffee is being brewed. This gauge shows the water pressure pushing through your coffee grounds. It’s a key number for getting that perfect shot of espresso. Many home baristas don’t pay much attention to it. But learning what it means can seriously improve your espresso game.
Think of it like the dashboard in your car. You wouldn’t ignore the gas gauge or the speedometer. The pressure gauge on your espresso machine is just as vital. It tells you if everything is working as it should be. We found that focusing on this dial can help you avoid common mistakes and make consistently delicious coffee.
What Does the Pressure Gauge Actually Measure?
Brewing Pressure Explained
The gauge measures the water pressure inside your espresso machine during the brewing process. Specifically, it shows the pressure at the group head, where the water meets the coffee puck. This pressure is what extracts the flavor, oils, and aromas from your coffee grounds.
For espresso, this pressure is quite high. We’re not talking about the gentle stream from a drip coffee maker. Espresso requires a forceful push. This force is what gives espresso its signature rich body and crema. Without the right pressure, you simply won’t get real espresso. You might get something that looks like coffee, but it won’t have the characteristic taste or texture.
The Ideal Pressure Range
Research and many coffee experts agree on a sweet spot for brewing pressure. The ideal range is typically between 8 and 10 bars. This is a standard measurement for pressure. One bar is roughly equal to the atmospheric pressure at sea level.
So, when your gauge reads between 8 and 10 bars, it means your machine is likely operating within the optimal zone for espresso extraction. This pressure is enough to saturate the coffee grounds evenly and extract all the wonderful flavors without over-extracting or under-extracting them. We found that hitting this range consistently is a major step toward better espresso.
Some machines might show pressure in PSI (pounds per square inch). If yours does, the equivalent range is about 116 to 145 PSI. Most machines will have markings on the gauge to show you the target zone. Always check your machine’s manual for its specific recommendations.
Why is Pressure So Important for Espresso?
Extraction: The Heart of Espresso
Espresso extraction is the process where hot water is forced through finely-ground coffee beans. The goal is to dissolve the soluble compounds from the coffee grounds into the water. The pressure gauge is a window into how effectively this is happening.
If the pressure is too low, the water won’t properly saturate the coffee. This leads to under-extraction. The shot will taste weak, sour, and lack body. It’s like trying to wash dishes with a gentle dribble of water – not very effective. Many home baristas struggle with this without realizing the pressure is the culprit.
The Downside of Too Much or Too Little Pressure
On the flip side, if the pressure is too high, it can lead to over-extraction. This forces water through the coffee too quickly or too aggressively. It can strip away the desirable flavors and create a bitter, harsh taste. It’s like using a fire hose to water a delicate plant – you’ll just make a mess and damage it.
We found that staying within that 8-10 bar range is crucial. It allows for a balanced extraction. You get the sweetness, the acidity, and the body without bitterness or sourness. Your gauge helps you achieve this delicate balance with every shot you pull.
Impact on Flavor and Aroma
The pressure applied directly influences the solubles extracted from the coffee. Different compounds dissolve at different rates and pressures. The 8-10 bar range is generally considered best for dissolving the right balance of sugars, acids, and oils.
These dissolved compounds are what create the complex flavors and aromas we love in espresso. Getting the pressure right means you’re unlocking the full potential of your coffee beans. Poor pressure means you’re leaving delicious flavors behind or extracting unpleasant ones.
What Can Your Pressure Gauge Tell You?
Indicating a Successful Brew
When you pull a shot and the needle on your pressure gauge climbs into the 8-10 bar zone, it’s a good sign. It suggests that your machine is heating water to the right temperature and pumping it at the correct force. This is usually when you’ll start to see a nice, even flow of espresso from your portafilter.
We found that seeing the gauge hit this target area gives you confidence. It means the mechanical aspects of your machine are likely working correctly for brewing. This allows you to focus on other variables, like grind size and tamping, to fine-tune your shot. It’s one less thing to worry about when you’re aiming for that perfect extraction.
Diagnosing Brewing Problems
The pressure gauge is also your first line of defense when something goes wrong. If your shot runs too fast, tastes weak, or has no crema, the gauge can offer clues. Is the needle barely moving? That points to low pressure, possibly from an incorrect grind or tamp.
Conversely, if the shot is choking (not flowing at all) or tastes extremely bitter, a stuck needle in the high-pressure zone could be the issue. We found that monitoring the gauge can help you identify problems much faster. Instead of just guessing why your coffee is bad, the gauge gives you concrete data.
Troubleshooting Common Issues with the Gauge
Let’s say your shot runs too fast and tastes sour. You look at the gauge, and it’s only hitting 6 bars. This tells you the problem is likely with your coffee bed. You need a finer grind or a firmer tamp to create more resistance. The low pressure is a direct indicator.
Now, imagine your shot is taking ages to drip, and it’s incredibly bitter. You check the gauge, and the needle is pegged at 12 bars or higher, or it’s stuck there. This suggests too much resistance. Your grind might be too fine, your tamp too hard, or you might have too much coffee in the basket. The excessive pressure is the clue.
Ensuring Consistency Over Time
One of the hardest parts of making great espresso at home is consistency. You might make a fantastic shot one day and a terrible one the next. The pressure gauge helps you maintain that consistency.
By regularly checking where the needle lands for your usual brewing parameters, you build a baseline. If you notice the pressure is consistently lower or higher than it used to be, it could indicate a machine issue developing. Or, it might be a sign that your coffee beans or grind have changed. This allows you to make adjustments before you pull a really bad shot.
Reading Your Espresso Machine’s Pressure Gauge
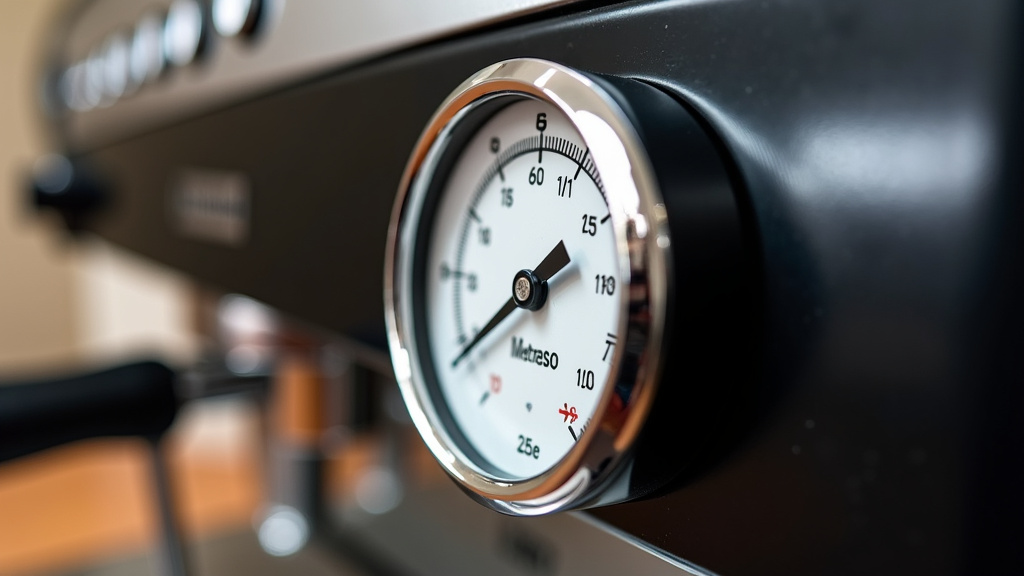
Most espresso machine pressure gauges have a clear dial with a needle. There’s usually a colored zone or markings indicating the ideal pressure range. Often, this zone is highlighted in green or labeled with “8-10 BAR” or “115-145 PSI.”
When you start your brew cycle, watch the needle. It should smoothly rise into the target zone. It should stay there for the duration of your shot, usually 25-30 seconds. Once the shot is finished, the needle will drop back to zero. We found that familiarizing yourself with the gauge’s behavior during a good shot is the best way to learn its readings.
| Gauge Reading | Likely Cause | Potential Outcome |
|---|---|---|
| 8-10 BAR (Ideal) | Correct grind, tamp, and machine function. | Balanced, flavorful espresso with good crema. |
| Below 8 BAR (Low) | Grind too coarse, tamp too light, not enough coffee, or machine issue. | Under-extracted, sour, weak espresso, little to no crema. |
| Above 10 BAR (High) | Grind too fine, tamp too hard, too much coffee, or machine issue. | Over-extracted, bitter espresso, choked shot, or channeling. |
Checklist for Using Your Pressure Gauge
To make sure you’re getting the most out of your espresso machine’s pressure gauge, keep these tips in mind:
- Always check the gauge when you pull a shot.
- Aim for the 8-10 BAR sweet spot for optimal extraction.
- Note readings when shots taste good, and when they don’t.
- If readings are consistently off, consider your grind and tamp.
- If issues persist, consult your machine’s manual or support.
- Regularly monitor your gauge for consistent performance.
Conclusion
Your espresso machine’s pressure gauge is more than just a decoration. It’s your direct link to understanding your brew. By paying attention to the needle, you can ensure your machine is applying the right amount of force to extract the best flavors from your coffee. We found that mastering this simple dial helps you avoid common mistakes and consistently pull delicious shots.
Don’t let that dial go unnoticed! Make it a habit to check your pressure gauge with every shot. This simple action will guide you towards achieving that perfect espresso extraction you’ve been aiming for at home.
Frequently Asked Questions
What happens if my pressure gauge needle doesn’t move?
If your pressure gauge needle doesn’t move at all when you start a shot, it usually means there’s very low pressure. This could be due to a grind that’s too coarse, a tamp that’s too light, or an issue with your machine’s pump or water flow. You’ll likely get a weak, sour shot without crema.
Can a faulty pressure gauge affect my espresso?
Yes, a faulty pressure gauge can absolutely affect your espresso. If the gauge is stuck, not moving accurately, or showing incorrect readings, you won’t have reliable feedback on your brewing pressure. This can lead to consistent under- or over-extraction because you’re unable to make informed adjustments.
Is it okay if the pressure goes above 10 bars briefly?
It’s generally okay if the pressure briefly spikes slightly above 10 bars as you start the shot, as long as it quickly settles into the ideal 8-10 bar range. However, if the needle consistently stays well above 10 bars or pegs at the maximum, it suggests too much resistance, potentially leading to over-extraction or channeling.
Do all espresso machines have a pressure gauge?
No, not all espresso machines have a pressure gauge. Many entry-level or very basic machines omit them to reduce cost. However, most semi-automatic and all commercial-grade machines will include one because it’s considered essential for proper brewing control and diagnostics. Our guide to the single boiler espresso machine explains how it works.
How do I know if my pressure gauge is calibrated correctly?
While you can’t easily calibrate a pressure gauge yourself, you can check for signs of correct calibration by observing your brewing results. If your machine consistently hits the 8-10 bar range and produces good espresso, your gauge is likely functioning as intended. If you suspect it’s off, compare its readings to known good machines or consult your machine’s manual for troubleshooting.